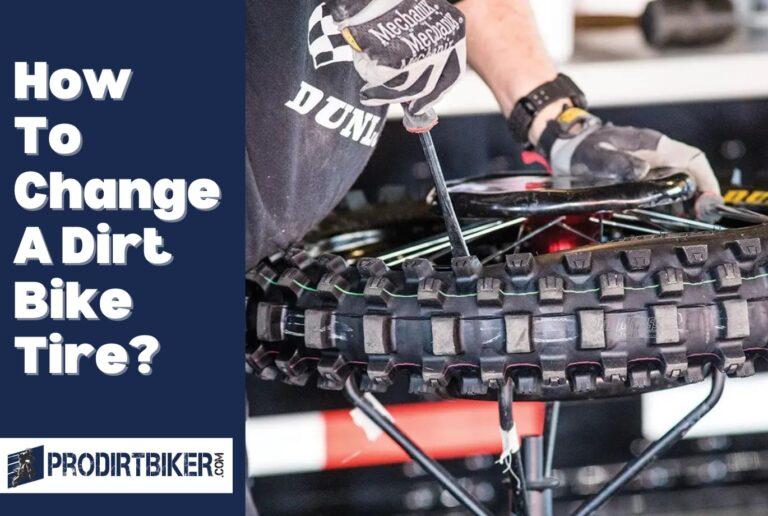
How to Paint Dirt Bike Plastics? For Long- lasting Brilliance
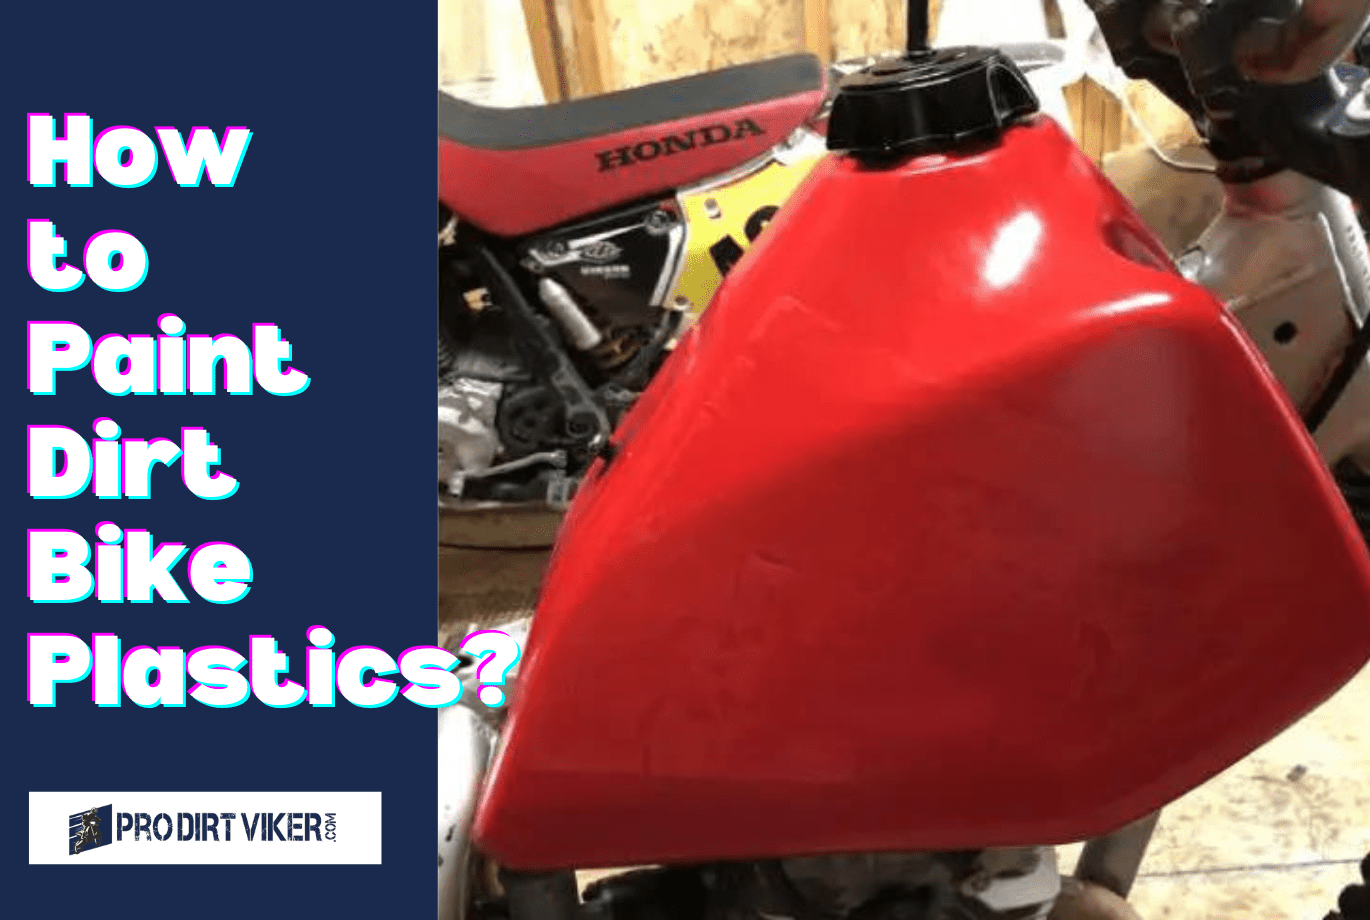
If you’re an avid dirt bike rider, you know that your bike’s appearance is just as important as its performance. And one of the best ways to give your ride a fresh new look is by painting the plastics. Whether you want to match your bike’s colors to your gear or simply want to stand out from the crowd, painting your dirt bike plastics can make a world of difference.
In this blog post, we’ll walk you through the step-by-step process of how to paint dirt bike plastics, including the necessary materials and techniques. So, grab your paintbrush and let’s get started on transforming your bike into a true work of art.
How to Paint Dirt Bike Plastics?
To paint dirt bike plastics for long-lasting results, start by cleaning the surfaces and sanding them lightly. Then, apply a plastic primer followed by multiple layers of spray paint, allowing each coat to dry before adding the next.
Comprehensive Guide to Painting Dirt Bike Plastics:
- Preparation:
- Remove the plastics and clean them thoroughly.
- Allow the plastics to dry completely.
- Surface Preparation:
- Lightly sand the plastics with 220-400 grit sandpaper to create a textured surface.
- Wipe away any dust or debris.
- Primer Application:
- Apply a plastic primer, ensuring even coverage.
- Follow the drying time specified on the primer’s instructions.
- Optional Adhesion Promoter:
- Consider using a plastic adhesion promoter to enhance paint adhesion.
- Follow the product guidelines for application.
- Masking:
- Use painter’s tape to mask off areas you don’t want to paint.
- Ensure a secure seal to prevent paint bleed.
- Base Coat Application:
- Shake the spray paint can thoroughly.
- Hold the can 8-12 inches away and apply a light, even base coat.
- Allow each coat to dry before applying the next.
- Clear Coat for Protection:
- Apply a clear coat to protect the paint and give it a polished finish.
- Follow the recommended drying time between clear coat layers.
- Final Touches:
- Once the final coat is completely dry, carefully remove the painter’s tape.
- Reinstall the painted plastics onto the dirt bike.
Tips:
- Work in a well-ventilated area to avoid inhaling fumes.
- Follow all safety precautions on the paint and primer cans.
- Read and adhere to the specific instructions provided by the paint and primer manufacturers.
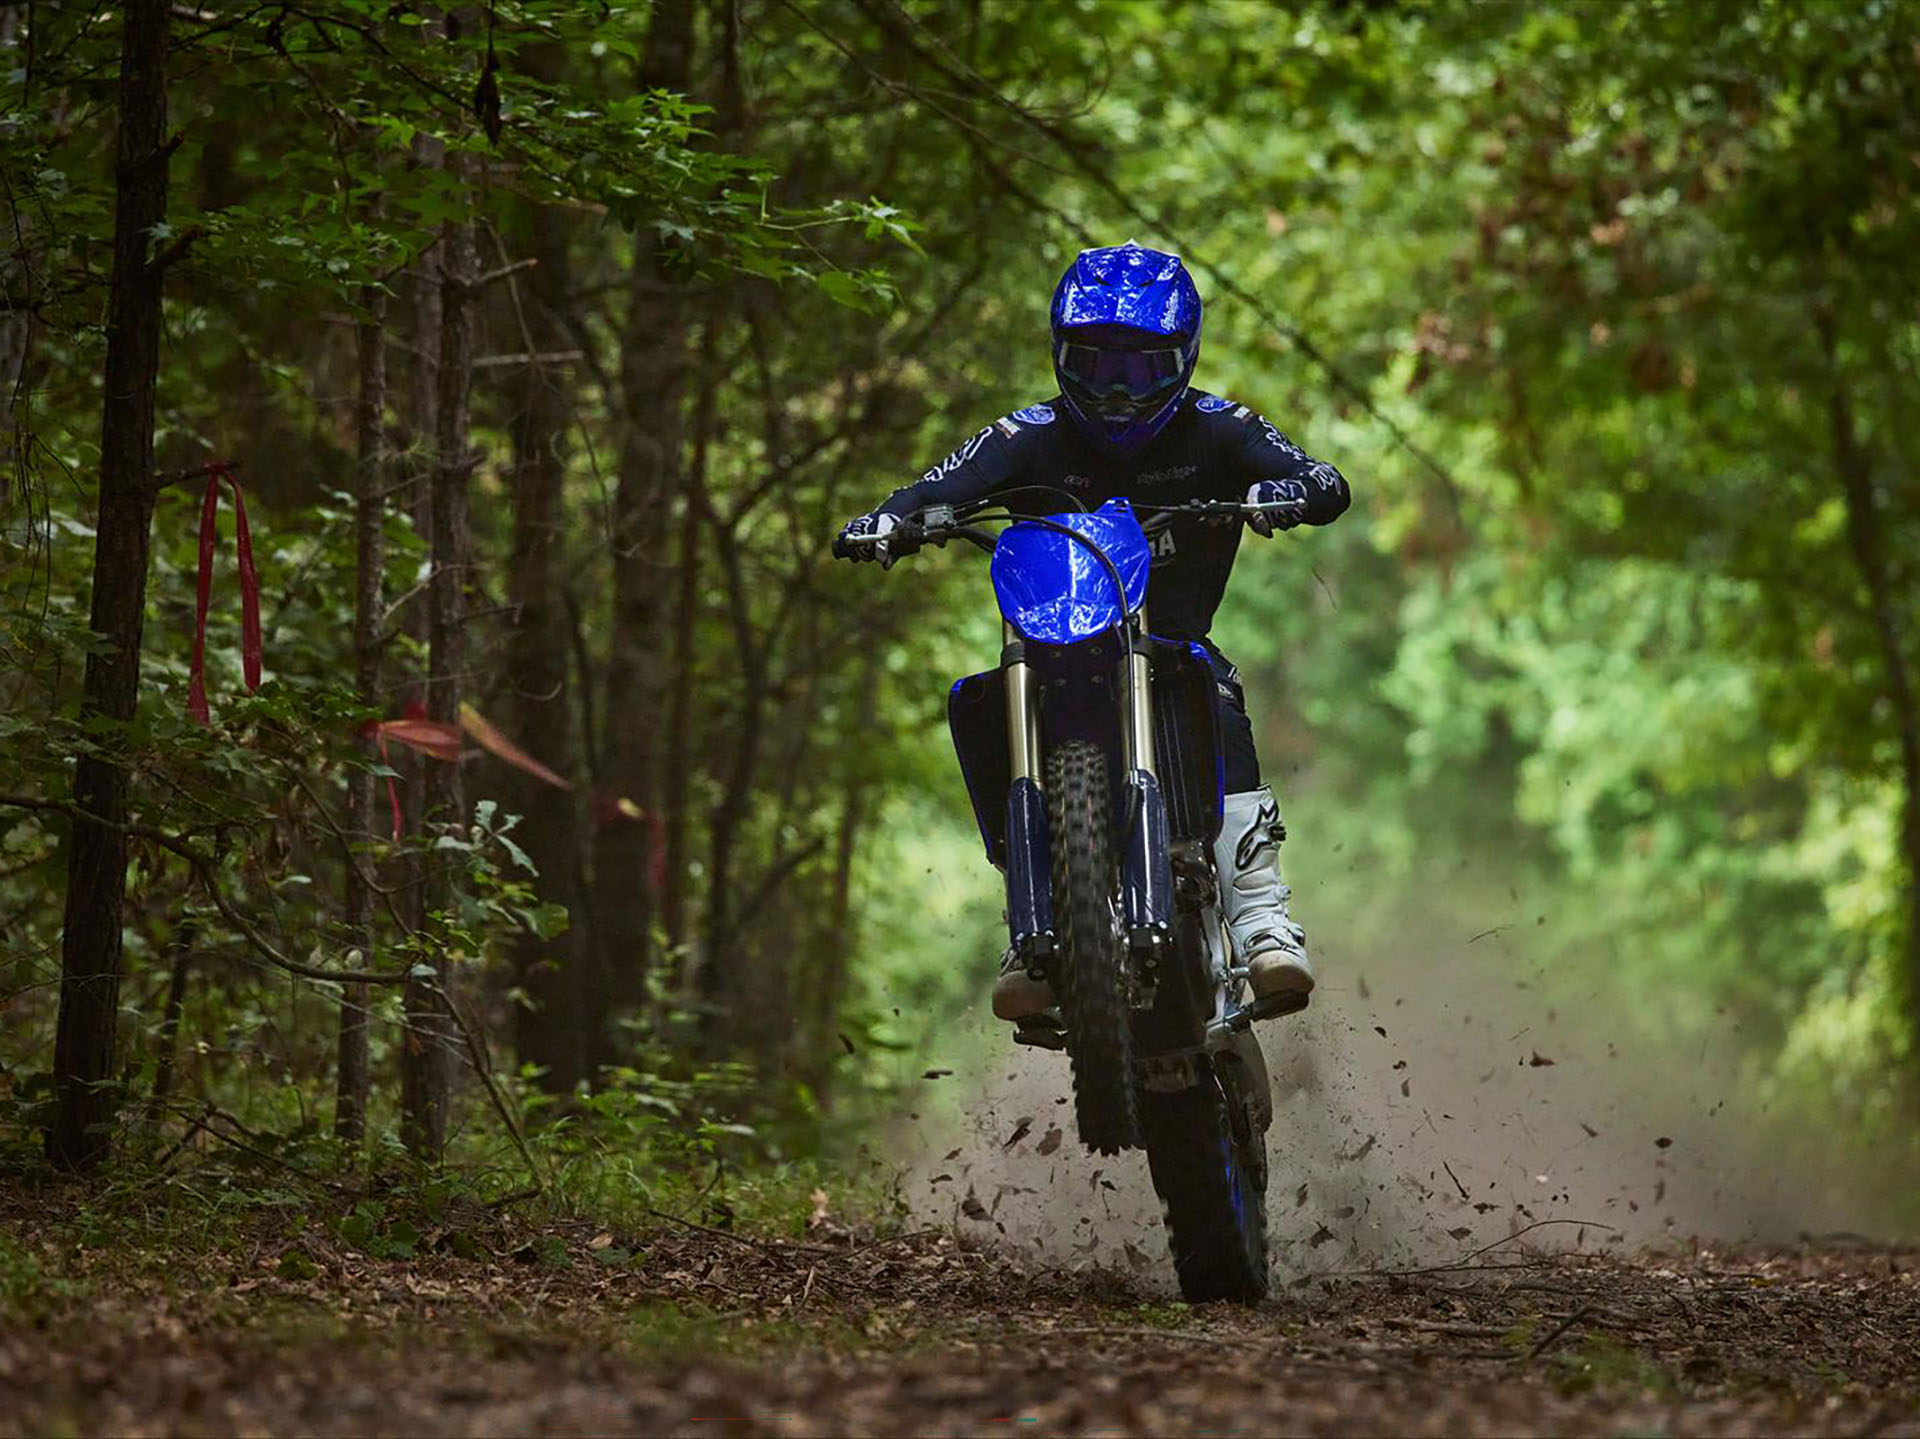
Understanding The Importance Of Plastics In Dirt Bikes
When it comes to dirt bikes, the appearance and performance go hand in hand. One crucial component that plays a significant role in both aspects is the plastics. These sturdy materials not only enhance the overall aesthetic appeal of the bike but also provide essential protection to vital components.
Whether you’re a professional rider or just a weekend enthusiast, it is essential to understand why dirt bike plastics matter for performance and appearance. Let’s delve deeper into the role of plastics in protecting vital components and enhancing the overall look of your dirt bike.
Why Dirt Bike Plastics Matter For Performance And Appearance:
Plastic components on a dirt bike are more than just a decorative feature. They serve a wide range of functions that significantly impact the bike’s performance and appearance. Here’s a closer look:
- Protection from impact: The plastics shield delicate parts of the bike, such as the engine and exhaust, from flying debris, rocks, or any other foreign objects that may cause damage. This protection ensures that the bike operates optimally without any unexpected malfunctioning.
- Aerodynamic efficiency: The design and shape of plastic parts, such as the front fender and side panels, contribute to the bike’s aerodynamic profile. By reducing wind resistance, these plastics enable the dirt bike to maintain steady speeds and maneuver more smoothly.
- Heat dissipation: Plastics, particularly those around the engine area, play a crucial role in dissipating heat. They help prevent excessive heat buildup, thereby ensuring the engine operates within the optimal temperature range for peak performance.
- Weight reduction: Modern plastic materials used in dirt bike parts are lightweight yet durable. By replacing heavier alternatives, these plastics contribute to an overall reduction in the bike’s weight, making it easier to handle and enhancing its agility on the track.
- Customization and branding: Plastics offer ample opportunities for customization and branding. You can choose from a wide range of colors and designs to give your bike a unique look that represents your style and personality. Additionally, adding decals or graphics allows you to showcase your sponsors or favorite brands.
Now that you understand the importance of plastics in dirt bikes, it’s evident that these components are more than just cosmetic additions. They play a crucial role in protecting vital bike parts and enhancing overall performance. Whether you’re looking to improve your bike’s appearance or optimize its performance on the track, paying attention to the condition and quality of your dirt bike plastics is essential.
Cleaning And Preparing Your Dirt Bike Plastics
Maintaining the appearance and longevity of your dirt bike plastics is essential for any rider. Dirt, mud, and grime can take a toll on these components over time, but with the right cleaning and preparation techniques, you can keep them looking fresh and increase their lifespan.
In this section, we will cover everything you need to know about cleaning and preparing your dirt bike plastics effectively.
Selecting The Right Cleaning Products And Tools
To ensure the best results when cleaning your dirt bike plastics, it’s important to choose the appropriate cleaning products and tools. Here are some key points to consider:
- Opt for a mild cleaning solution: Harsh chemicals can damage the plastic material, so it’s best to use a mild cleaning solution specifically designed for dirt bike plastics. Look for products labeled as safe for use on plastics and environmentally friendly.
- Use microfiber cloths or soft brushes: Abrasive materials can scratch the surface of the plastics, so it’s important to use non-abrasive tools. Microfiber cloths or soft brushes are gentle on the plastics and help to remove dirt and grime effectively.
- Avoid high-pressure washers: While it may be tempting to use a high-pressure washer to quickly clean your dirt bike plastics, it can cause damage, such as forcing water into the electrical components or compromising the integrity of the plastics. Stick to manual cleaning methods for the best results.
Steps To Effectively Remove Dirt And Grime From Plastics
Now that you have the right cleaning products and tools, let’s walk through the steps to effectively clean your dirt bike plastics:
- Start by rinsing the plastics: Use a hose or bucket of water to rinse off loose dirt and debris from the surface of the plastics. This will make it easier to clean the plastics thoroughly.
- Apply the cleaning solution: Dilute the mild cleaning solution according to the instructions provided. Apply the solution onto the plastics, making sure to cover all areas.
- Gently scrub the plastics: Using a microfiber cloth or soft brush, gently scrub the plastics in circular motions to remove dirt and grime. Pay special attention to areas with stubborn stains or buildup.
- Rinse off the cleaning solution: After scrubbing, rinse off the cleaning solution from the plastics using clean water. Make sure to remove all traces of the cleaning solution to prevent any residue from affecting the appearance or performance of the plastics.
- Dry the plastics: Ideally, allow the plastics to air dry to avoid any potential damage caused by heat. If you need to speed up the drying process, use a clean, absorbent cloth to gently pat dry the plastics.
By following these steps and using the right cleaning products and tools, you can effectively clean and prepare your dirt bike plastics. Keeping them free from dirt and grime not only enhances the aesthetics of your bike but also helps to prolong the life of these essential components.
Restoring Color And Shine To Your Dirt Bike Plastics
If you want to give your dirt bike plastics a fresh new look, restoring the color and shine is the way to go. Over time, the sun, dirt, and general wear and tear can cause the plastics to fade and lose their luster.
But fear not, because with the right paint or dye and a few techniques, you can bring them back to life. In this section, we’ll explore choosing the appropriate paint or dye, applying it for a uniform finish, and tips for achieving that glossy shine your bike deserves.
Choosing The Appropriate Paint Or Dye For Your Plastics
When it comes to painting or dyeing your dirt bike plastics, it’s crucial to choose the right product that will adhere well and provide a long-lasting finish. Here are some key points to consider:
- Compatibility: Ensure that the paint or dye you choose is specifically designed for use on plastics. This will ensure better adhesion and durability.
- Color match: Check for a color that closely matches your bike’s original plastics or choose a new color for a customized look. Some brands offer a wide range of color options.
- Uv resistance: Look for a paint or dye that is uv resistant to prevent fading and maintain the vibrant color of your plastics over time.
- Finish: Decide if you prefer a glossy, satin, or matte finish. This choice comes down to personal preference and the overall aesthetic you want for your bike.
Applying The Paint Or Dye To Achieve A Uniform Finish
Applying paint or dye to your dirt bike plastics requires precision and attention to detail. Here’s what you need to know to achieve a uniform finish:
- Surface preparation: Thoroughly clean the plastics, removing any grease, dirt, or residue. Sand any rough spots or imperfections to create a smooth surface that will allow the paint or dye to adhere properly.
- Priming: Consider using a plastic primer before applying the paint or dye. This will enhance adhesion and improve the longevity of the finish.
- Even coats: Apply the paint or dye in thin, even coats, allowing each coat to dry before applying the next. This will prevent runs or uneven areas. Follow the manufacturer’s instructions regarding the number of coats needed for optimal coverage.
- Drying and curing: Allow ample time for the paint or dye to dry and cure. This will ensure a strong bond and minimize the risk of scratching or peeling.
Tips And Techniques For Achieving A Glossy Shine
Now that you’ve painted or dyed your dirt bike plastics and achieved a uniform finish, it’s time to make them shine. Here are some tips and techniques to help you achieve that glossy look:
- Polishing: Once the paint or dye has fully cured, use a plastic polish specifically formulated for motorcycle plastics. Apply the polish in a circular motion, buffing the surface to a high shine.
- Protective coating: To further enhance the shine and protect the plastics, consider applying a clear protective coating. This will provide an extra layer of defense against scratches and uv damage.
- Regular maintenance: To keep your dirt bike plastics looking their best, regularly clean and polish them. This will help maintain the shine and prevent dirt and grime from dulling the finish.
With the right products and techniques, you can easily restore the color and shine to your dirt bike plastics. So go ahead, give your bike a makeover and enjoy the eye-catching results on your next ride!
Protecting And Maintaining Your Newly Transformed Plastics
Painting your dirt bike plastics can give your ride a fresh, new look, but it’s essential to protect and maintain your newly transformed plastics to ensure they last for the long haul. By applying protective coatings and implementing routine maintenance practices, you can keep your dirt bike looking its best and prevent damage and fading.
Here’s how:
Applying Protective Coatings To Prevent Damage And Fading:
- Clear coat: After painting your dirt bike plastics, apply a clear coat to provide an additional layer of protection against scratches, uv rays, and other environmental elements. This will help preserve the color and keep your plastics looking vibrant for longer.
- Wax or polish: Regularly wax or polish your plastics to create a protective barrier and enhance their shine. Look for products specifically designed for use on plastic surfaces to ensure optimal results. Applying wax or polish every few months can shield your plastics from dirt, grime, and fading caused by prolonged exposure to sunlight.
- Protective film: Consider applying a protective film to high-impact areas, such as the front fender or side panels. This transparent film acts as a shield, preventing scratches and scuffs caused by rocks, branches, or other debris while riding off-road.
Routine Maintenance Practices To Extend The Longevity Of Plastics:
- Cleaning: Regularly clean your dirt bike plastics to remove dirt, mud, and other contaminants that can degrade their appearance. Use mild soap, water, and a soft cloth or sponge to avoid scratching the surface. Avoid abrasive cleaners or materials that could damage the paint or protective coatings.
- Avoid harsh chemicals: When cleaning your dirt bike, avoid using harsh chemicals or solvents that can deteriorate the paint or plastic surface. Stick to products specifically formulated for motorcycle cleaning to ensure the longevity of your plastics.
- Storage: Proper storage is crucial for maintaining the condition of your dirt bike plastics. Store your bike in a dry, controlled environment, away from direct sunlight and extreme temperatures. Consider using a cover to further protect your ride from dust, moisture, and uv rays.
- Inspect for damage: Regularly inspect your plastics for any signs of damage, including cracks, chips, or fading. Address these issues promptly by repairing or repainting affected areas to prevent further deterioration.
By following these protective coating application techniques and routine maintenance practices, you can keep your dirt bike plastics looking good for the long term. Remember, maintaining your plastics not only enhances the visual appeal of your bike but also helps preserve their functionality and value.
Enhancing Durability To Keep Your Plastics Looking Great
Dirt bike plastics are prone to scratches, impacts, and fading due to constant exposure to harsh riding conditions. To ensure that your plastics look great and last longer, there are several steps you can take to enhance their durability. By following these tips, you can protect your investment and keep your dirt bike looking its best.
Installing Protective Accessories To Safeguard Plastics From Scratches And Impacts
- Invest in durable plastic protectors that fit snugly over your dirt bike plastics. These accessories act as a shield, preventing scratches and dents caused by rocks, branches, and other debris encountered on the trail.
- Install hand guards to protect the front and rear plastics from impacts during falls or collisions. Hand guards not only safeguard your plastics but also protect your hands from injury.
- Consider adding skid plates to shield the underside of your bike’s plastics from rough terrain, rocks, and other obstacles. Skid plates provide an extra layer of protection, reducing the risk of damage.
Utilizing Decals And Graphics To Enhance The Appearance And Protect The Surfaces
- Apply high-quality decals and graphics to your dirt bike plastics. Not only do these additions enhance the overall appearance of your bike, but they also act as a protective layer. The decals shield the underlying plastics from scratches, chips, and fading caused by uv rays, dirt, and debris.
- Opt for clear protective films that adhere to the surface of your plastics. These films offer an invisible barrier against scratches and scuffs, while still allowing the vibrant colors and graphics of your plastics to shine through.
- Regularly clean and maintain your decals and graphics to keep them looking vibrant. Use gentle cleaners and avoid abrasive or harsh chemicals that could damage the graphics or the plastics.
By taking the time to install protective accessories and utilizing decals and graphics, you can greatly enhance the durability of your dirt bike plastics. Not only will they look great, but they will also withstand the rigors of off-road adventures, ensuring they last for many rides to come.
So, gear up and get ready to hit the trails with confidence, knowing your dirt bike plastics are protected and ready for action!
Related:
Long-Lasting Brilliance: Maintaining The Look Of Your Dirt Bike Plastics
Dirt bike plastics endure a lot of wear and tear, from the rugged terrains they conquer to the constant exposure to uv rays. Over time, the vibrant colors can fade, leaving your bike looking dull and worn out. But fear not! With the right care and attention, you can maintain the long-lasting brilliance of your dirt bike plastics.
In this section, we’ll explore recommended cleaning and maintenance routines to keep your plastics looking their best, as well as ways to protect against uv damage and discoloration.
Recommended Cleaning And Maintenance Routines To Keep Plastics Looking Their Best
- Regularly wash your dirt bike plastics using mild soap and water. This will help remove dirt, grime, and any other debris that may have accumulated during your rides.
- Use a soft sponge or cloth to avoid scratching the plastics. Avoid abrasive materials or aggressive scrubbing, as this can cause scratches and damage the surface.
- Dry the plastics thoroughly after washing to prevent water spots and streaks. A microfiber cloth or air drying can be effective.
- Apply a plastic cleaning solution or polish specially designed for dirt bike plastics. This will help to restore the shine and protect against fading.
- Inspect your plastics for any signs of damage, such as cracks or deep scratches. Replace any damaged parts promptly to prevent further issues.
Protecting Against Uv Damage And Discoloration
- Apply a uv protectant specifically formulated for plastics. This will create a barrier against the sun’s harmful rays, preventing fading and discoloration.
- When not in use, store your dirt bike in a shaded area or use a cover to shield it from direct sunlight. This will minimize uv exposure and extend the life of your plastics.
- Consider using vinyl wraps or graphic kits on your plastics. These options not only provide a customized look but also act as an additional layer of protection against uv damage.
By following these recommended cleaning and maintenance routines, as well as taking steps to protect against uv damage, you can ensure that your dirt bike plastics retain their long-lasting brilliance. Remember, a well-maintained bike not only looks great but also performs at its best.
So, invest some time in caring for your plastics, and they’ll reward you with a stunning appearance every time you hit the trails.
Replacing And Upgrading Plastics For Ongoing Brilliance
When To Consider Replacing Worn-Out Or Damaged Plastics
Dirt bike plastics take a beating, and over time, they can become worn-out or damaged. If you notice any of the following signs, it’s time to consider replacing your dirt bike plastics:
- Cracks: Cracks in the plastics can weaken their structural integrity, leading to further damage down the line.
- Fading: Sun exposure can cause the plastic to fade and lose its vibrant color, making your bike look old and worn.
- Deep scratches: Deep scratches not only mar the appearance of your bike, but they can also make it more difficult to clean and maintain.
- Warping: Extreme heat or physical impact can cause the plastics to warp, compromising their fit and functionality.
By keeping an eye out for these signs, you can proactively address any issues with your dirt bike plastics and ensure optimal performance. But replacing worn-out or damaged plastics doesn’t mean you have to settle for the standard options. Let’s explore some exciting options for upgrading to premium plastics.
Exploring Options For Upgrading To Premium Plastics
When it comes to dirt bike plastics, you have the freedom to customize and upgrade to premium options. Consider the following points when exploring your options:
- Enhanced durability: Premium plastics often offer superior durability compared to standard ones, ensuring they can withstand the rigors of off-road riding.
- Improved fit: Upgraded plastics are designed to fit your specific dirt bike model perfectly, providing a seamless and professional-looking finish.
- Range of colors: Premium plastics come in a wide range of vibrant colors, allowing you to personalize your dirt bike to match your style and preferences.
- Advanced materials: Many premium plastics utilize advanced materials, such as high-density polyethylene (hdpe), which offer increased impact resistance and longevity.
By upgrading to premium plastics, you not only enhance the aesthetic appeal of your dirt bike but also improve its overall performance and longevity. With these options in mind, you can achieve ongoing brilliance for your dirt bike plastics. So, why settle for average when you can take your bike to the next level?
Frequently Asked Questions For How To Paint Dirt Bike Plastics For Long
How Do You Prepare Dirt Bike Plastics For Painting?
To prepare dirt bike plastics for painting, start by cleaning them thoroughly to remove any dirt or debris. Then, sand the surface lightly to create a rough texture for better adhesion. Finally, apply a plastic adhesion promoter before applying the paint.
What Type Of Paint Should I Use For Dirt Bike Plastics?
When painting dirt bike plastics, it’s best to use a high-quality, automotive-grade paint that is specifically designed for plastic materials. This type of paint is durable, flexible, and resistant to fading and chipping.
Do I Need To Prime Dirt Bike Plastics Before Painting?
Yes, priming dirt bike plastics before painting is crucial. Apply a plastic primer to create a smooth, even surface for better paint adhesion. This will help the paint bond securely to the plastics and improve its overall durability.
Can I Use Spray Paint To Paint Dirt Bike Plastics?
Yes, you can use spray paint to paint dirt bike plastics. It provides an even coverage and is easy to apply. Just make sure to follow the proper painting technique, such as spraying from a distance and using multiple thin coats.
How Long Does It Take For The Paint To Dry On Dirt Bike Plastics?
The drying time for paint on dirt bike plastics can vary based on factors such as temperature and humidity. However, it is advisable to allow the paint to dry completely for at least 24 to 48 hours before handling or reassembling the bike.
Conclusion
To wrap up, painting dirt bike plastics can be a great way to give your bike a fresh and sleek look while also protecting it from the elements. By following the steps outlined in this blog post, you can ensure a long-lasting and professional-looking paint job.
Remember to properly clean and prepare the plastics before painting, use the right type of paint and primer, and apply multiple thin coats for a smooth finish. Don’t forget to let the paint cure fully before reassembling the bike. With proper care and maintenance, your newly painted plastics will stay vibrant and scratch-free for years to come.
So go ahead, unleash your creativity and transform your dirt bike into a real head-turner on the trails. Happy painting!