How to Easily Lower a Dirt Bike? 11 Easy Step
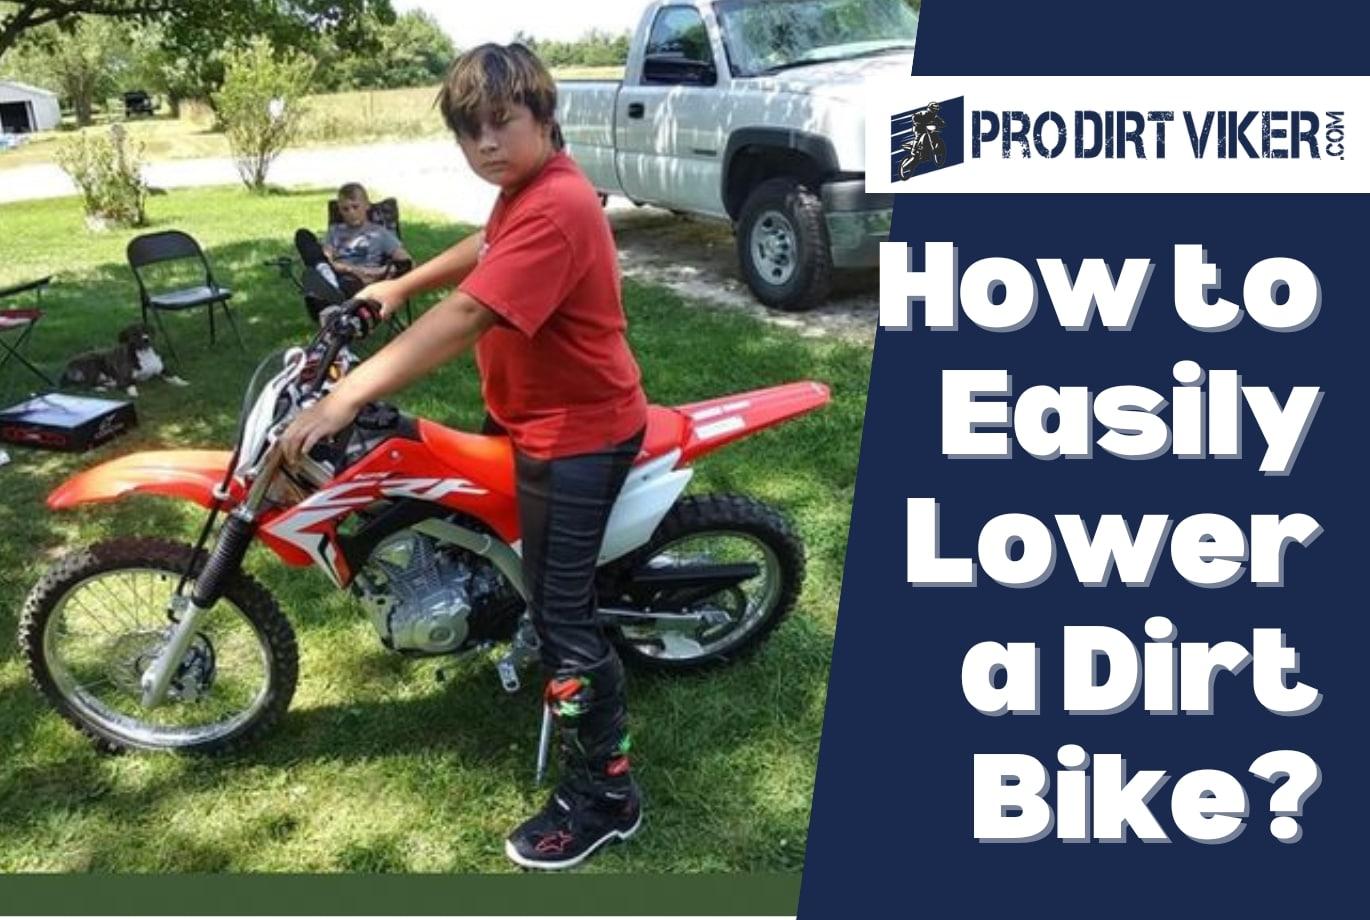
If you’re a dirt bike enthusiast who’s on the shorter side, you may find it challenging to ride comfortably and confidently. The good news is that there are ways to lower your dirt bike to better suit your height and riding style.
In this blog post, we’ll share some tips and techniques on how to easily lower a dirt bike without compromising its performance or safety. Whether you’re a beginner rider or an experienced pro, these methods can help you achieve a more comfortable and enjoyable riding experience. So, let’s dive in and discover how you can make your dirt bike fit you like a glove.
How to Easily Lower a Dirt Bike?
To lower a dirt bike, adjust the suspension and use a lowering link for a safe and more comfortable ride. Lowering a dirt bike involves adjusting the suspension and using a lowering link.
Lowering a dirt bike can be a bit of a process, but it’s important to do it properly to maintain the bike’s handling and safety. Here’s a step-by-step guide to easily lower a dirt bike:
Tools and Materials Needed:
- Motorcycle stand or lift
- Wrenches and socket set
- Suspension lowering kit (if required)
- New kickstand (if necessary)
Step 1: Safety First Before you start working on your dirt bike, make sure you’re wearing the necessary safety gear, including gloves and safety glasses.
Step 2: Lift the Bike Use a motorcycle stand or lift to raise the bike off the ground. This will make it easier to work on and provide space to remove the wheels if necessary.
Step 3: Remove the Wheels (if needed) Depending on your dirt bike model, you may need to remove the front and/or rear wheels to access the suspension components. Use the appropriate wrenches or socket set to loosen and remove the axle nuts, and carefully slide the wheels out.
Step 4: Access the Suspension Locate the suspension components that you need to adjust to lower the bike. This typically involves adjusting the fork tubes for the front suspension and the rear shock for the rear suspension.
Step 5: Suspension Lowering Kit (if required) If your bike does not have adjustable suspension or you need to lower it further, consider purchasing a suspension lowering kit. These kits usually come with new linkage arms, shock mounts, or fork internals to lower the bike’s overall height.
Follow the instructions provided with the suspension lowering kit to make the necessary adjustments. This often involves replacing certain parts and adjusting preload settings.
Step 6: Rear Shock Adjustment If you’re working on the rear suspension, adjust the preload on the rear shock to your desired setting. This may involve turning a threaded collar or using a spanner wrench, depending on your bike’s design. Lowering the preload will compress the shock, lowering the bike’s rear end.
Step 7: Front Fork Adjustment To lower the front of the bike, slide the fork tubes up through the triple clamps (the top part of the front suspension). Make sure to measure and maintain equal heights on both fork tubes to keep the bike balanced.
Step 8: Check for Clearance After making the necessary suspension adjustments, check for clearance between the tires, fenders, and other components. Make sure nothing is rubbing or interfering with the bike’s movement.
Step 9: Reinstall Wheels (if removed) If you removed the wheels, carefully slide them back into place and secure them by tightening the axle nuts to the manufacturer’s recommended torque specifications.
Step 10: Adjust the Kickstand (if necessary) Lowering the bike may require a shorter kickstand to keep it stable when parked. If your bike leans excessively after lowering, consider replacing the kickstand with a shorter one compatible with your bike model.
Step 11: Test Ride Before taking your dirt bike on a ride, test it in a controlled environment to ensure it handles properly and that the suspension adjustments meet your requirements.
Remember that lowering a dirt bike can affect its handling and ground clearance, so be cautious when riding on rough terrain or over obstacles. If you’re unsure about any of these steps, it’s a good idea to consult your bike’s owner’s manual or seek the assistance of a professional motorcycle mechanic.
Understanding The Importance Of Lowering Your Dirt Bike
Lowering your dirt bike can have numerous benefits that enhance your riding experience. By improving stability and balance, as well as increasing control and maneuverability, lowering your dirt bike can help you achieve optimum performance on the trail. Whether you’re a beginner looking to build confidence or an experienced rider seeking better handling, here are some key reasons why you should consider lowering your dirt bike.
Benefits Of Lowering Your Dirt Bike
- Improved stability and balance: Lowering your dirt bike lowers its center of gravity, which in turn improves stability. With a lower center of gravity, you’ll feel more grounded and in control, especially in tight turns and challenging terrain.
- Increased control and maneuverability: Lowering your dirt bike also enhances your control and maneuverability. By reducing the seat height, you’ll have an easier time putting your feet down on the ground when necessary, allowing for quicker reaction times and improved overall control of the bike.
- Improved confidence in off-road riding: Lowering your dirt bike can boost your confidence, particularly if you’re a beginner or have a shorter stature. With a bike that feels more manageable and secure, you’ll feel more at ease tackling obstacles and navigating tricky trails.
- Reduced risk of injury: Lowering your dirt bike can help reduce the risk of injury. With improved stability and control, you’ll be less likely to experience sudden loss of balance or tip over, minimizing the risk of falls and potential injuries.
- Enhanced customization: Lowering your dirt bike provides an opportunity for customization. By adjusting the suspension or installing lowering links, you can tailor the bike’s ride height to suit your preferences and physical attributes, creating a more personalized and comfortable riding experience.
- Better weight distribution: Lowering your dirt bike can aid in achieving a more balanced weight distribution. This balanced weight distribution promotes better traction, especially during acceleration and cornering, resulting in improved overall performance.
- Adaptability for different riding styles: Lowering your dirt bike enables better adaptability to various riding styles. Whether you prefer aggressive motocross or more technical trail riding, a lowered bike can enhance your ability to tackle different terrains and handle different riding conditions.
Understanding the importance of lowering your dirt bike can have a significant impact on your overall riding experience. By improving stability, control, and maneuverability, as well as enhancing customization and reducing the risk of injury, lowering your dirt bike can help you ride with confidence and reach new heights in your off-road adventures.
Evaluating Your Dirt Bike And Determining The Right Height Adjustment
If you’re looking to lower your dirt bike, understanding how to evaluate your bike and determine the right height adjustment is crucial. By assessing both your comfort and confidence level as a rider, examining the bike’s suspension system, and measuring the current seat height, you can make informed decisions about lowering your dirt bike effectively.
Assessing The Rider’S Comfort And Confidence Level:
- Start by considering your comfort level on your dirt bike. If you’re struggling to reach the ground with both feet while seated, lowering the bike may improve your overall stability and control.
- Evaluate your confidence level when riding your dirt bike. If you feel uneasy or unsteady due to the bike’s height, adjusting it to a lower setting may boost your confidence and enhance your riding experience.
- Keep in mind that comfort and confidence play critical roles in your performance as a dirt bike rider. Adjusting the height to a level that suits you best will contribute to your overall enjoyment and safety.
Examining The Dirt Bike’S Suspension System:
- Take a look at your dirt bike’s suspension system. Determine whether it’s adjustable and can be lowered without compromising its performance.
- Consult your dirt bike’s manufacturer or manual to understand the suspension system’s capabilities and recommended adjustments.
- Consider seeking professional advice or assistance from a reputable dirt bike mechanic or dealer to ensure that any modifications to the suspension system are done correctly.
Measuring The Current Seat Height:
- Start by locating the seat on your dirt bike and measuring its height from the ground.
- Use a tape measure or ruler to determine the exact distance between the ground and the top surface of the seat.
- Make a note of this measurement as a reference point for determining how much you need to lower the bike’s seat height.
- Remember to record the seat height both before and after making any adjustments for future reference.
Remember, taking the time to evaluate your comfort and confidence level, examine the bike’s suspension system, and measure the seat height will help you make informed decisions about lowering your dirt bike. By doing so, you can achieve an optimal riding experience that suits your individual needs and preferences.
Exploring Different Techniques To Lower Your Dirt Bike
Lowering a dirt bike can greatly improve its handling and maneuverability, particularly for riders who are shorter in stature. There are several techniques you can employ to achieve a lower seat height on your dirt bike. In this section, we will discuss three effective methods: adjusting the suspension sag, installing a lowering kit, and modifying the fork and shock internals.
Adjusting The Suspension Sag:
- Adjusting the suspension sag is the most basic and widely used method to lower a dirt bike.
- By reducing the sag, you can lower the overall ride height of the bike, allowing for better stability and control.
- Here are the key steps to follow when adjusting the suspension sag:
- Begin by measuring the sag, which refers to the distance the suspension compresses when you sit on the bike.
- Use the appropriate tools to adjust the preload on the front forks and the rear shock absorber.
- Gradually decrease the preload until you achieve the desired lower seat height.
- It’s important to find the right balance, as excessively low sag may affect the bike’s handling and bottoming-out resistance.
Installing A Lowering Kit:
- Installing a lowering kit is another popular method used to lower a dirt bike’s seat height.
- A lowering kit typically consists of replacement parts that reduce the length of the suspension components, effectively lowering the bike.
- Here are the key considerations when installing a lowering kit:
- Choose a reputable brand and ensure the kit is compatible with your specific dirt bike model.
- Follow the manufacturer’s instructions carefully during the installation process.
- Keep in mind that lowering kits may affect the bike’s suspension travel and ground clearance, so be mindful of the terrain you plan to ride on.
Modifying The Fork And Shock Internals:
- Modifying the fork and shock internals is a more advanced technique that requires mechanical knowledge and expertise.
- This method involves altering the internal components of the suspension system to achieve a lower ride height.
- Here are the key points to consider when modifying the fork and shock internals:
- Seek professional help or consult a suspension specialist to ensure the modifications are performed correctly.
- Custom springs, dampers, and valves can be installed to adjust the suspension’s compression and rebound characteristics.
- It’s crucial to strike a balance between a lower seat height and maintaining optimal suspension performance.
Lowering your dirt bike can enhance your riding experience, especially if you’re facing challenges with reaching the ground comfortably. Whether it’s adjusting the suspension sag, installing a lowering kit, or modifying the internals, there are various approaches to achieve the desired result.
Choose the method that suits your bike and riding style best, and remember to prioritize safety and expert guidance throughout the process.
Safety Precautions To Consider Before Lowering Your Dirt Bike
Lowering a dirt bike can be a helpful modification for riders who are shorter in stature or prefer a lower ride height. However, before making any adjustments to your dirt bike, it’s important to consider the safety precautions involved. Taking the time to consult with a professional mechanic, understanding the impact on ground clearance, and ensuring proper setup and alignment are essential steps to take before embarking on this modification.
Let’s delve into each of these safety precautions in detail:
Consulting With A Professional Mechanic:
- Seek advice from a professional mechanic who specializes in dirt bikes.
- Have a thorough discussion about your intentions of lowering the bike and seek their guidance based on your specific model and riding style.
- A professional mechanic can assess potential risks and offer recommendations to ensure the modification is done correctly and safely.
- They can also provide insights into the various methods available to lower your dirt bike and help you choose the most appropriate one.
Understanding The Impact On Ground Clearance:
- Lowering a dirt bike will reduce its ground clearance, which needs to be taken into account during trail riding or off-roading.
- With reduced ground clearance, there is an increased risk of hitting rocks, roots, or other obstacles on the trail.
- It’s essential to understand the limitations of a lowered dirt bike and adjust riding style accordingly to prevent damage to the bike or accidents on rough terrain.
- Being aware of these limitations will help you adapt your riding techniques and avoid potential hazards.
Ensuring Proper Setup And Alignment:
- Lowering a dirt bike can affect its suspension and overall setup.
- It’s crucial to ensure that the bike is properly aligned and set up to maintain stability and control.
- Adjustments may be needed in various areas, such as suspension preload, sag, and fork height, to accommodate the lowered ride height.
- Failing to set up the bike correctly can result in compromised handling, reduced performance, and potential safety hazards.
- Regular checks and adjustments are necessary to maintain the bike’s optimal performance and safety.
By considering these safety precautions and taking the necessary steps before lowering your dirt bike, you can ensure a smoother and safer riding experience. Remember, consulting with a professional mechanic, understanding the impact on ground clearance, and ensuring proper setup and alignment are vital in making this modification both effective and safe.
Step-By-Step Guide: Lowering Your Dirt Bike Effectively
Lowering a dirt bike can have significant benefits for riders of all levels, improving their confidence and control on the trails. If you’re looking to lower your dirt bike effectively, follow this step-by-step guide that outlines the necessary tools and equipment, as well as the essential techniques to achieve the desired result.
From adjusting the suspension sag to installing a lowering kit and modifying the fork and shock internals, we’ve got you covered. So let’s dive right in and discover how to lower your dirt bike without compromising its performance. ###
Step 1: preparing the necessary tools and equipment:
- Spanner wrench or socket set
- Measuring tape or sag scale
- Bike stand or lift
- Allen keys or hex wrench set
- Lowering kit (if required)
- Matt or soft surface to work on
Step 2: adjusting the suspension sag:
- Start by measuring the sag, which is the amount the suspension compresses under the weight of the rider.
- Follow the manufacturer’s guidelines to set the sag to your desired measurement.
- Adjust the preload on your bike’s shock spring to achieve the desired sag measurement.
- Measure the sag again to ensure it falls within the recommended range.
Step 3: installing a lowering kit:
- If your bike requires more than just adjusting the sag, consider installing a lowering kit.
- Lowering kits consist of shorter suspension linkage arms that decrease the ride height.
- Follow the specific instructions provided with the lowering kit to remove the original arms and install the new ones.
- Ensure all bolts and nuts are tightened correctly.
Step 4: modifying the fork and shock internals:
- Modify the fork by sliding the fork tubes up through the triple clamps.
- Be cautious not to lower the front end excessively, as it may affect the bike’s handling.
- Adjust the shock internals by shortening the shock shaft or installing a shorter shock.
- Seek professional assistance or guidance if you are not confident in performing these modifications yourself.
By following these step-by-step instructions, you can effectively lower your dirt bike and tailor it to your specific needs. Remember to take your time, follow the manufacturer’s guidelines, and prioritize safety at all times. Enjoy the benefits of a lower dirt bike while conquering the trails with confidence!
Tips And Tricks For Conquering Various Terrains With A Lowered Dirt Bike
Dirt biking is an exhilarating sport that allows riders to embrace the thrill of conquering challenging terrains. However, when it comes to navigating rough and uneven paths, having a lowered dirt bike can make all the difference. Lowering your dirt bike not only improves maneuverability, but it also enhances your ability to handle obstacles effectively.
In this section, we will explore some tips and tricks for navigating various terrains with a lowered dirt bike. From maintaining momentum and speed while handling obstacles to utilizing proper body positioning and weight distribution, and adjusting suspension settings for different terrain conditions, we’ve got you covered.
So let’s dive in!
Maintaining Momentum And Speed While Handling Obstacles:
- Keeping a steady momentum is crucial when tackling obstacles on a lowered dirt bike.
- By maintaining an appropriate speed, you can ensure a smoother ride and minimize the impact of obstacles.
- Slow down before approaching the obstacle to assess the best line and anticipate the movement required to maneuver over or around it.
- Once you’ve identified the right path, aim to maintain a consistent speed to effortlessly glide through the obstacle.
- Be mindful of maintaining control and balance while navigating the obstacle, as too much speed can lead to loss of control.
Utilizing Proper Body Positioning And Weight Distribution:
- Proper body positioning and weight distribution are key elements for successfully conquering challenging terrains on a lowered dirt bike.
- Maintain a neutral body position with your elbows up, knees bent, and your weight centered over the bike’s center of gravity.
- By shifting your weight forward or backward when necessary, you can optimize traction and control.
- Leaning forward during climbs can improve traction on the front wheel, while leaning back on descents can prevent the front wheel from lifting.
- Additionally, actively use your legs as shock absorbers to better adapt to the terrain and maintain stability.
Adjusting Suspension Settings For Different Terrain Conditions:
- Adjusting your dirt bike’s suspension settings is crucial for optimizing performance on different terrains.
- Stiffer suspension settings are ideal for tackling rough and rocky terrains, which require increased stability and impact absorption.
- On the other hand, softer suspension settings are better suited for sandy or muddy terrains, providing enhanced traction and control.
- Experiment with different compression and rebound settings to find the right balance that suits your riding style and the specific terrain you’re tackling.
- Regularly fine-tune your suspension settings to adapt to various conditions and optimize your dirt biking experience.
Remember, mastering the art of conquering various terrains with a lowered dirt bike takes practice, patience, and a deep understanding of your bike’s capabilities. Incorporate these tips and tricks into your riding techniques, and you’ll be well on your way to becoming a proficient dirt biker, ready to take on any terrain that comes your way.
Common Mistakes To Avoid When Lowering Your Dirt Bike
Lowering a dirt bike can be a game-changer for riders who struggle with height or prefer a lower center of gravity. It can greatly improve control, balance, and confidence on the trails. However, it’s important to proceed with caution and avoid some common mistakes that could negatively impact your bike’s performance.
In this section, we’ll explore three key mistakes to steer clear of when lowering your dirt bike.
Over-Lowering The Dirt Bike Excessively:
Lowering your dirt bike too much can lead to detrimental effects on its suspension and handling. It’s crucial to find the right balance between decreased height and maintaining proper functionality. Here are some key points to remember:
- Keep within the recommended range of lowering for your specific bike model. Excessive lowering can compromise the bike’s suspension travel and result in bottoming out or a harsh ride.
- Consult the bike’s manual or seek guidance from experienced riders or mechanics to determine the optimal lowering range for your dirt bike.
- Utilize adjustable suspension components, such as lowering links or adjustable rear shock spring kits, to fine-tune the bike’s height without compromising its integrity.
Neglecting Regular Maintenance And Adjustments:
Lowering a dirt bike requires careful attention to maintenance and adjustments. Failing to address these aspects can lead to subpar performance and potential safety hazards. Take note of the following:
- Maintain regular suspension servicing to ensure optimal performance and prevent premature wear from increased stress caused by lowering.
- Adjust sag and preload settings accordingly to maintain proper suspension function and balance.
- Regularly inspect and replace worn-out components, including bushings, seals, and bearings, to prevent potential issues.
Failing To Account For Individual Riding Style And Preferences:
While lowering a dirt bike can provide numerous advantages, it’s important to remember that riding style and preferences vary among individuals. Avoid the mistake of overlooking these personal factors:
- Consider your riding style and terrain preferences when choosing the extent and method of lowering. What works for one rider may not suit another.
- Experiment and fine-tune the bike’s height to find the optimal setting that enhances your comfort, maneuverability, and overall riding experience.
- Factors such as weight, skill level, and riding goals should also be taken into account when determining the appropriate height adjustments.
By avoiding these common mistakes, you’ll ensure a smoother and safer experience while lowering your dirt bike. Remember to strike a balance between attaining the desired height and maintaining the bike’s performance and integrity. So, get ready to hit the trails with confidence and control!
Frequently Asked Questions About Lowering A Dirt Bike
Lowering a dirt bike can be beneficial for riders who are shorter in stature or prefer a lower center of gravity for improved handling. However, before making any modifications to your bike, it’s important to understand the potential consequences and the tools necessary to do the job effectively.
In this section, we’ll address some frequently asked questions about lowering a dirt bike to help you make an informed decision.
Can A Dirt Bike Suspension Be Too Low?
- Lowering a dirt bike suspension beyond the recommended limit can compromise the bike’s performance and safety.
- The suspension travel may be reduced, resulting in a harsher ride and less effective shock absorption.
- Decreased ground clearance can make the bike more prone to bottoming out on rough terrain.
Are There Any Long-Term Effects Of Lowering A Dirt Bike?
- Lowering a dirt bike can alter the bike’s handling characteristics, potentially affecting stability and cornering ability.
- It may also impact the bike’s suspension geometry, leading to changes in fork and shock performance.
- Lowered suspension can result in a reduced range of motion, limiting the bike’s ability to absorb bumps and obstacles effectively.
What Tools Are Necessary For Lowering A Dirt Bike?
- A jack or lift stand to support the bike securely during the modification process.
- Basic hand tools like wrenches, sockets, and allen keys for removing and adjusting various components.
- A suspension lowering kit that includes shorter shocks or fork springs, depending on the bike’s specific requirements.
- A service manual or online resources with detailed instructions for your particular dirt bike model.
Before proceeding with any modifications, it’s crucial to consult with a professional or experienced mechanic who can provide guidance based on your specific bike and riding style. Keep in mind that properly lowering a dirt bike requires careful consideration of various factors, including suspension travel, ground clearance, and long-term implications on performance.
With the right tools and knowledge, you can confidently make adjustments that suit your riding needs while ensuring the safety and optimal performance of your dirt bike.
Frequently Asked Questions On How To Lower A Dirt Bike
How Can I Lower The Height Of My Dirt Bike?
Lowering the height of your dirt bike can be achieved by adjusting the suspension or using a lowering kit.
What Are The Benefits Of Lowering A Dirt Bike?
Lowering a dirt bike can improve stability, balance, and maneuverability, making it easier to handle for riders of all sizes.
Can I Lower My Dirt Bike Without Affecting Its Performance?
Lowering a dirt bike may slightly impact the ground clearance and suspension travel, but it can be adjusted to minimize any negative effects on performance.
How Can I Adjust The Suspension To Lower My Dirt Bike?
To lower the height of your dirt bike, you can adjust the sag, preload, or install shorter springs to reduce the suspension travel.
Do I Need Professional Help To Lower My Dirt Bike?
While it is possible to lower your dirt bike yourself, seeking professional help from a qualified mechanic can ensure the job is done correctly and safely.
Conclusion
To sum up, lowering a dirt bike can greatly enhance your riding experience, especially if you are shorter or newer to the sport. By following the steps outlined in this blog post, you can confidently tackle the task without any professional assistance.
Remember to start with the suspension adjustments and then move on to modifying the seat and handlebars to ensure a comfortable riding position. Keep in mind that safety should always be a priority, so take the time to practice and get familiar with the new setup before hitting the trails.
With a lower dirt bike, you’ll feel more in control, have improved stability, and gain confidence on various terrains. So, don’t hesitate to make these modifications and enjoy a better riding experience tailored to your needs. Happy riding!