How To Change A Dirt Bike Tire? Quick and Easy Steps
To change a dirt bike tire, follow these steps: First, let the air out of the tire and remove the valve stem cap. Then, use tire spoons or a tire iron to carefully remove the tire from the rim.
Install the new tire by pushing it onto the rim, lubricating it if necessary. Finally, use a bead tool or rim lock to secure the tire in place. Remember to check the tire pressure before riding. Though changing a dirt bike tire may seem challenging, it is a manageable task with the right tools and a basic understanding of the process.
Preparation And Tools Needed
Changing a dirt bike tire may seem like a daunting task, but with a little preparation and the right tools, you can easily complete the job. In this guide, we will walk you through the necessary steps and tools needed to change a dirt bike tire efficiently and safely.
Gather the necessary tools and equipment
Before getting started, gather the following tools and equipment:
- Tire removal tools such as tire spoons or a tire changer
- Tire irons or tire levers for levering the tire off the rim
- Tire bead tool for breaking and reseating the bead
- Valve stem removal tool
- Tire pressure gauge to check the tire pressure
- Tire paste or lubricant for easier tire installation
- Soapy water or tire mounting lubricant for lubricating the tire
- Rim lock tightening tool
- Optional: magnetic bowl or container for keeping track of small parts
Ensure a clean and safe working environment
Creating a clean and safe working environment is crucial for a successful tire change. Follow these steps to ensure a clean and safe workspace:
- Find a flat and stable surface to work on, preferably a garage or a dedicated work area.
- Clear the area of any debris, ensuring no sharp objects are lying around that could potentially damage the tire or cause injury.
- Wear safety goggles or glasses to protect your eyes from any debris that may fly off during the tire change process.
- Have a fire extinguisher nearby in case of any accidents.
- Make sure you have proper lighting to see the tire and rim clearly.
By following these simple steps and gathering the necessary tools and equipment, you are now ready to change a dirt bike tire.
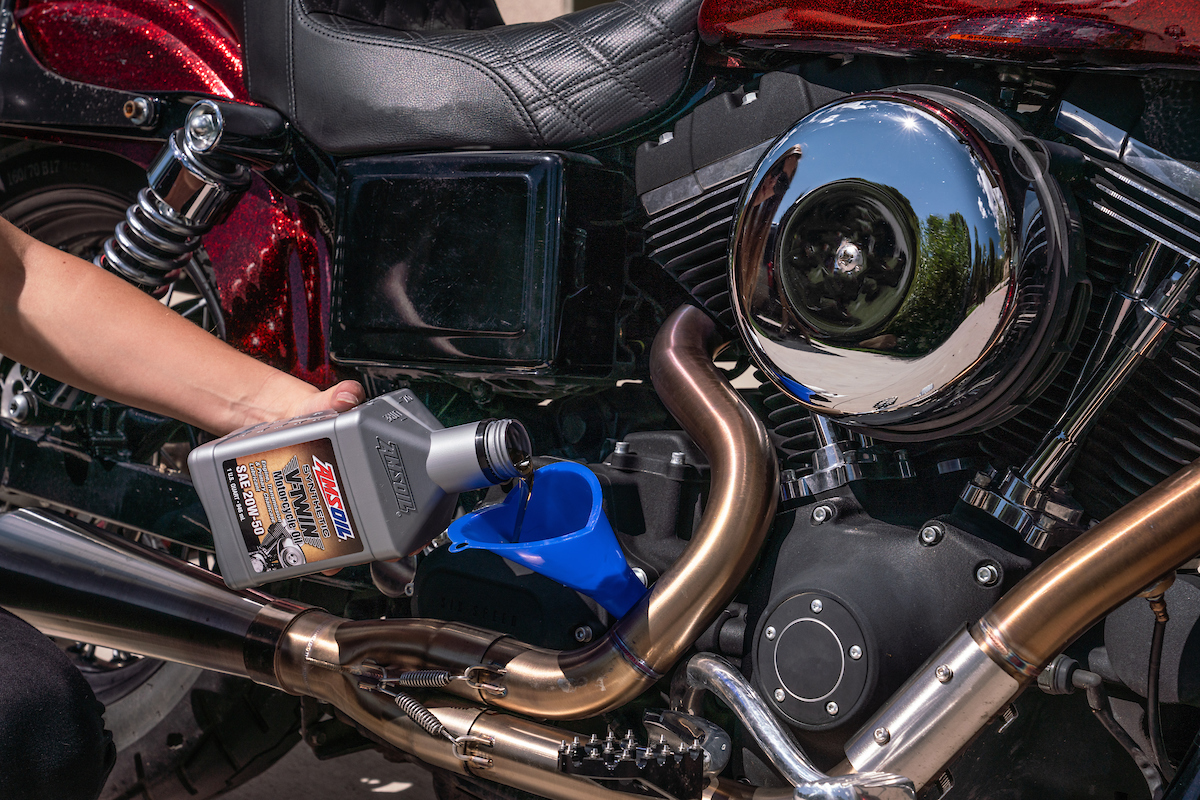
Credit: blog.amsoil.com
Removing The Old Tire
Deflate the tire and remove the valve stem cap
Before you can begin removing the old tire from your dirt bike, it’s important to deflate the tire and remove the valve stem cap. This will ensure that there is no air pressure left in the tire, making it easier to work with. To do this, simply use a valve stem cap removal tool or a pair of pliers to unscrew the cap. Once the cap is removed, press down on the valve stem to release any remaining air pressure. This step is crucial to avoid any potential accidents during the tire removal process.
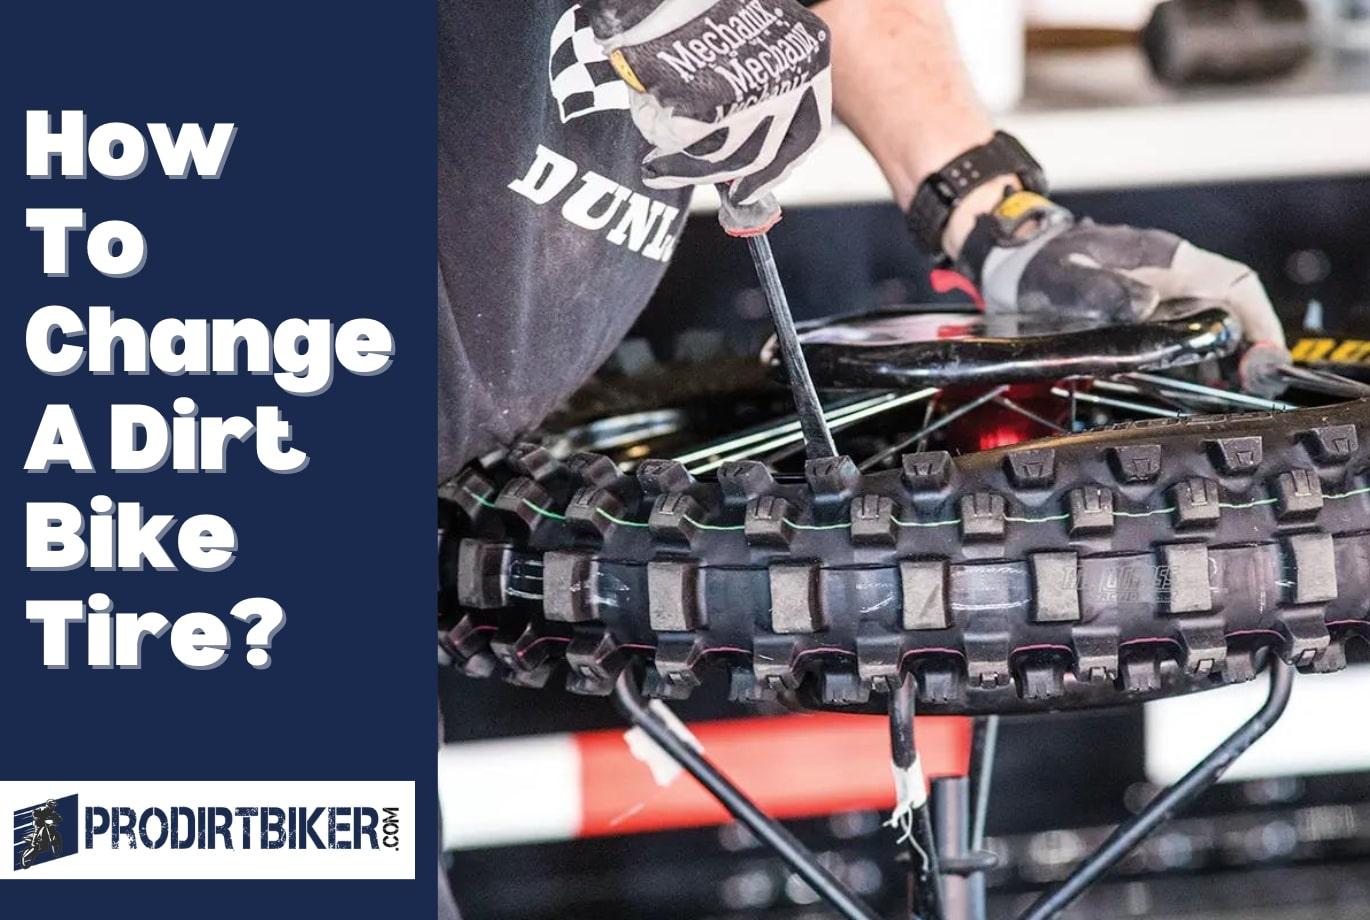
Use tire spoons to loosen the tire from the rim
After deflating the tire, you’ll need to loosen it from the rim using tire spoons. Tire spoons are specially designed tools that help pry the tire away from the rim without causing damage. To use the tire spoons, insert one spoon between the tire and the rim, then use leverage to pry the tire away from the rim. Repeat this process at different points around the tire until it is loosened enough to move onto the next step.
Carefully remove the tire from the rim
Once the tire is loosened from the rim, carefully remove it by hand. Start by working your fingers underneath the tire and gradually pull it away from the rim. Be mindful of the rim’s edges and spokes to avoid causing any damage. If you encounter any resistance, use the tire spoons to help pry the tire off the rim, taking care not to scratch or bend the rim in the process. With patience and caution, you’ll be able to fully remove the old tire from the rim.
Inspect the rim and tire for any damage
With the old tire removed, take a moment to inspect both the rim and the tire for any signs of damage. Look for any cracks, dents, or other abnormalities on the rim that could affect the performance of your new tire. Additionally, examine the old tire for any punctures, wear, or bald spots that might have contributed to its removal. Identifying and addressing any issues at this stage will ensure that you have a smooth and safe tire replacement process.
Conclusion
In conclusion, removing the old tire from your dirt bike is an important step in the tire-changing process. By deflating the tire, using tire spoons to loosen it from the rim, carefully removing the tire, and inspecting the rim and tire for any damage, you’ll be well-prepared to replace it with a new one. With proper technique and attention to detail, you’ll have your dirt bike ready to hit the trails in no time.
Installing The New Tire
Now that you have successfully removed the old tire from the rim of your dirt bike, it’s time to install the new tire. Follow these steps to ensure a smooth and hassle-free installation process.
Apply lubricant to the rim and tire bead
Before mounting the new tire onto the rim, it’s important to apply lubricant to both the rim and the tire bead. This will help reduce friction and make it easier to push the tire onto the rim. Apply a generous amount of lubricant to both the inside of the rim and the outer edge of the tire bead.
Mount the new tire onto the rim, starting from the valve stem side
Once you have applied the lubricant, it’s time to mount the new tire onto the rim. Start by aligning the valve stem side of the tire with the valve stem hole on the rim. This will ensure proper alignment and make it easier to inflate the tire later on.
Use tire spoons to push the tire bead over the rim
Using tire spoons, carefully push the tire bead over the rim, working your way around the rim. Be cautious not to damage the tire or the rim in the process. Use gentle and controlled movements to avoid any accidents or injuries.
Ensure the tire is properly seated on the rim
Once the tire bead is fully pushed over the rim, double-check to ensure that the tire is properly seated on the rim. Inspect the entire circumference of the tire, ensuring that it is evenly seated. This will help prevent any future tire issues or potential blowouts while riding.
Congratulations! You have successfully installed the new tire onto your dirt bike. With proper maintenance and regular inspections, your new tire should provide you with a safe and enjoyable riding experience.
Securing The Tire
Once you have successfully mounted the new tire onto the rim, the next step is to secure it properly. This involves installing the valve stem, tightening the valve stem nut, and installing the rim lock if needed for your dirt bike. Let’s go through each step in detail:
Install the valve stem and tighten the valve stem nut
The valve stem is responsible for maintaining air pressure in the tire. To install it, first, locate the hole in the rim designated for the valve stem. Insert the valve stem into the hole and push it through until it pokes out of the other side. Once the valve stem is in place, use a valve stem nut to tighten it securely. This ensures that the valve stem remains in position and prevents any air leakage.
Install the rim lock if needed for your dirt bike
Depending on your dirt bike model and riding preferences, you may need a rim lock to further secure the tire. The rim lock is a special locking mechanism that prevents the tire from spinning on the rim, providing extra stability during rides. Consult your dirt bike’s manual or a professional if you’re unsure whether your bike requires a rim lock.
Tighten the rim lock securely
If your dirt bike does require a rim lock, it’s important to tighten it securely. Please refer to your dirt bike’s manual for the specific installation instructions and torque specifications for your rim lock. Properly tightened rim lock ensures that the tire stays in place even during high-speed rides or off-road adventures.
Check the tire pressure and adjust as necessary
Once you have secured the tire and tightened the rim lock, it’s crucial to check the tire pressure and make any necessary adjustments. Use a tire pressure gauge to measure the current pressure in the tire. Compare this measurement to the recommended pressure provided by the tire manufacturer or your dirt bike’s manual. If the pressure is too high or too low, you can add or release air accordingly using an air compressor or a manual pump. Proper tire pressure is essential for optimal bike performance and safety during rides.
In conclusion,
Securing the tire is a critical step in the process of changing a dirt bike tire. By installing the valve stem, tightening the valve stem nut, installing a rim lock if necessary, and checking the tire pressure, you ensure that the tire stays securely in place and functions at its best. Take your time to perform these steps correctly, and always consult your dirt bike’s manual or a professional if you have any doubts or concerns.
Final Checks
After successfully installing a new tire on your dirt bike, it is important to perform a series of final checks before hitting the trail. These checks will ensure the tire is securely in place and ready for action. Follow these steps to ensure your dirt bike tire is properly installed and ready to perform at its best.Ensure all tire components are properly secured
Once the tire is mounted on the rim, make sure all the components are securely fastened. Check that the rim lock is tightened properly, as this will prevent the tire from spinning on the rim during rides. Additionally, double-check that the valve stem is tightly secured to avoid any air leaks. Ensuring all necessary components are properly secured will provide peace of mind knowing your tire won’t come loose while you’re out riding.Double-check the tire pressure
Maintaining proper tire pressure is crucial for optimal performance and safety. Use a tire pressure gauge to double-check the air pressure, ensuring it matches the manufacturer’s recommended PSI (pounds per square inch) for your specific dirt bike model. Adjust the pressure as needed to achieve the proper inflation. Keeping your tire at the correct pressure will enhance handling, grip, and overall ride quality.Test the tire by riding your dirt bike at low speeds
Before embarking on any high-speed adventures, take your dirt bike for a test ride at lower speeds. This will allow you to check if the tire is securely in place and balanced correctly. Pay close attention to any vibrations, unusual noises, or wobbling sensations during the ride. If you notice any irregularities, it may indicate an issue with the tire installation. In such cases, it’s important to make the necessary adjustments before venturing further.Make any necessary adjustments and recheck everything
If you encounter any issues during the test ride, address them promptly by making any necessary adjustments. This may include tightening loose components or repositioning the tire on the rim. Once the adjustments are made, recheck all the components to ensure everything is securely fastened. Properly securing the tire will give you the confidence to tackle any terrain without worry. By following these final checks, you can rest assured that your dirt bike tire is properly installed and ready to handle the challenges that await on your next adventure. Remember, regular maintenance and inspections are crucial to ensuring optimal performance and safety. Properly maintaining and checking your dirt bike tire will allow you to ride with confidence and enjoy your off-road experiences to the fullest.Frequently Asked Questions Of How To Change A Dirt Bike Tire
Is It Hard To Change A Dirt Bike Tire?
Changing a dirt bike tire may seem intimidating, but with some mechanical aptitude and the right tools, it can be done easily. Remove the tire from the bike, let out the air, and loosen the rim lock. Use soapy water to separate the tire from the rim, then install the new tire.
What Do I Need To Change A Dirt Bike Tire?
To change a dirt bike tire, you will need the following items: tire spoons, rim lock, bead tool, lube, and an air compressor. Start by deflating the tire and loosening the rim lock. Use the tire spoons to remove the old tire and install the new one.
Apply lube to make the process smoother. Finally, inflate the tire to the recommended pressure. It is not difficult to change a dirt bike tire with the right tools and knowledge.
How Do You Put A Bead Back On A Dirt Bike Tire?
To put a bead back on a dirt bike tire, follow these steps: 1. Remove the tire from the bike and elevate it using a bucket. 2. Use a core-removal tool to pull out the valve core and release all the air.
3. Push down on the tire to separate it from the rim, then spray soapy water between the rim and tire on both sides. 4. Use your hands or tire spoons to carefully work the bead back onto the rim.
5. Inflate the tire with air and check for proper seating of the bead.
How Do You Put A New Tire And Tube On A Dirt Bike?
To put a new tire and tube on a dirt bike, first, let the air out and remove the tire from the rim. Then, install the new tire and tube and make sure to properly align the valve stem and tighten the rim lock.
Finally, inflate the tire to the recommended pressure and check for proper installation.
Faq 1: Is It Difficult To Change A Dirt Bike Tire?
Changing a dirt bike tire may seem intimidating, but with a little mechanical aptitude and the right tools, it can be a manageable task.
Conclusion
Changing a dirt bike tire may seem daunting, but with the right tools and a bit of know-how, it can be done easily. Start by deflating the tire and removing the valve stem and core. Use tire spoons or a bead tool to remove the tire from the rim.
When installing the new tire, make sure to properly align the bead with the rim and use lube if necessary. Lastly, inflate the tire to the recommended pressure and check for any leaks or issues. With these steps, you’ll be back on the trails in no time.
Happy riding!